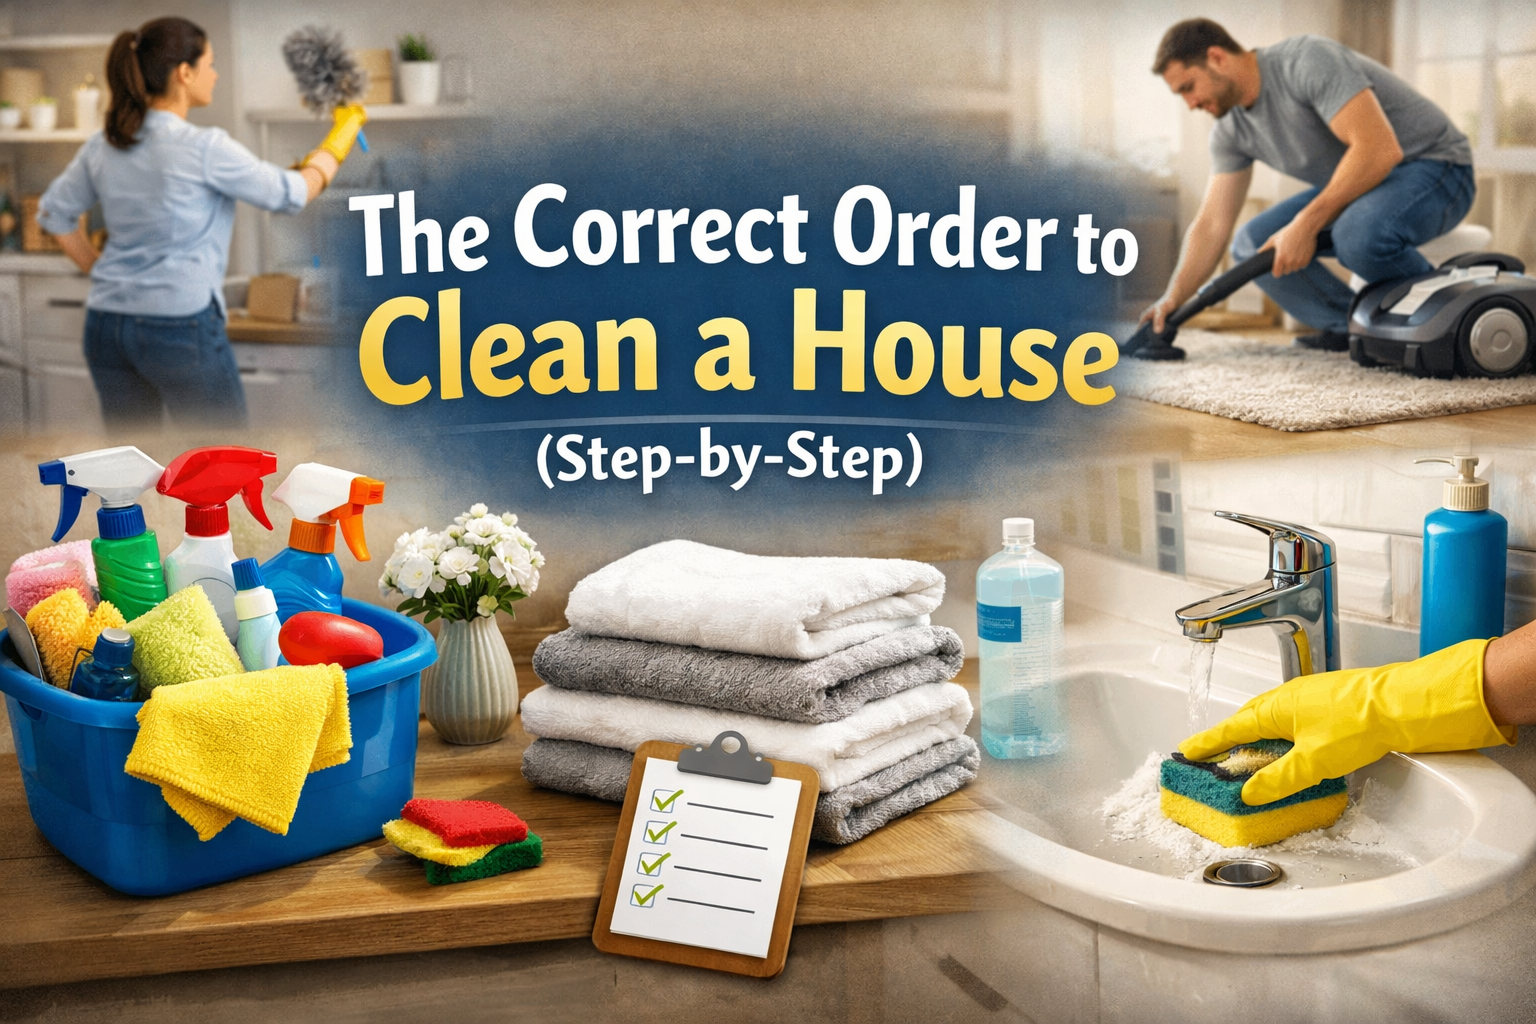
Keeping a home clean isn’t just about effort — it’s about doing things in the right order. Many people spend hours cleaning, only to feel frustrated when dust settles again or freshly cleaned floors get dirty all over. The truth is, following a structured cleaning sequence can completely change the results.
At Grandpa’s Cleaning Guide, we focus on practical, real-world cleaning methods that actually work in everyday homes. In this step-by-step guide, you’ll learn the correct order to clean a house efficiently, helping you save time, avoid common mistakes, and get a cleaner home with less effort.
Why Cleaning Order Matters
Cleaning in the wrong order often means doing the same work twice. For example, wiping surfaces before dusting high areas or mopping floors before finishing other rooms leads to unnecessary re-cleaning. This not only wastes time but also makes cleaning feel more exhausting than it needs to be.
A proper cleaning order allows dirt, dust, and debris to move downward and outward in a controlled way. By working from top to bottom and from cleaner areas to dirtier ones, you create a smoother workflow, protect already cleaned surfaces, and achieve more consistent results throughout your home.
Step 1: Declutter Before You Start Cleaning
Before you touch any cleaning tools, start by removing clutter from each room. Items left on surfaces make cleaning harder and less effective, no matter how thorough you are. This includes clothes on chairs, papers on tables, toys on the floor, and unnecessary items on countertops.
Decluttering first creates clear surfaces, speeds up the cleaning process, and helps you focus on actual dirt instead of constantly moving things around. You don’t need to organize perfectly at this stage — simply put items back where they belong or gather them in a basket to sort later.
Step 2: Dust from Top to Bottom
Once surfaces are clear, begin dusting the entire house starting from the highest points. Dust ceiling fans, light fixtures, shelves, curtain rods, and the tops of cabinets before moving down to furniture and lower surfaces.
Dust naturally falls downward, so cleaning high areas first prevents freshly cleaned lower surfaces from getting dirty again. Use a microfiber cloth or a duster that traps dust instead of spreading it into the air. This step sets the foundation for the rest of the cleaning process.
Step 3: Clean Surfaces and Furniture
After dusting, move on to cleaning surfaces and furniture throughout the house. Wipe tables, countertops, desks, shelves, and appliances using appropriate cleaning solutions for each material.
This is the stage where grime, fingerprints, and everyday buildup are removed. Focus on frequently touched areas like door handles, light switches, and remote controls, as these spots collect germs quickly. Working room by room helps maintain consistency and prevents missed areas.
Step 4: Tackle Kitchens and Bathrooms Next
Kitchens and bathrooms should be cleaned after general surfaces but before floors. These areas require deeper cleaning because they accumulate grease, moisture, and bacteria more than other rooms.
In kitchens, clean countertops, sinks, stovetops, and appliance exteriors. In bathrooms, focus on sinks, toilets, showers, and mirrors. By handling these high-use spaces before floors, you avoid tracking dirt and cleaning residue into freshly cleaned areas later.
Step 5: Clean Windows and Mirrors
Once kitchens and bathrooms are done, move on to windows and mirrors. Cleaning glass at this stage prevents water splashes or dust from earlier steps from ruining your results.
Wipe windows from top to bottom using a streak-free cleaner or a microfiber cloth. Don’t forget window frames, sills, and edges where dust often collects. Clean mirrors last to remove fingerprints and smudges, leaving surfaces clear and polished.
Step 6: Vacuum or Sweep All Floors
After all surfaces are cleaned, it’s time to focus on floors. Start by vacuuming or sweeping every room to remove dust, crumbs, and debris that have settled during earlier steps.
Work your way from the farthest rooms toward the exit to avoid stepping on freshly cleaned areas. Pay special attention to corners, under furniture, and along baseboards where dirt tends to collect.
Step 7: Mop Hard Floors
Once floors are free of loose dirt, mop hard surfaces such as tile, wood, or laminate floors. Use a suitable cleaner and avoid excessive water, especially on wood or laminate, to prevent damage.
Mopping after vacuuming ensures that you’re cleaning the floor itself, not spreading dust around. Allow floors to dry completely before walking on them to maintain a clean finish.
Step 8: Final Touches and Reset the Space
Finish by returning items to their proper places and making small adjustments that complete the cleaning process. Straighten cushions, arrange furniture, and empty trash bins if needed.
This final step helps your home feel organized and fully refreshed. Taking a few extra minutes to reset each room ensures your cleaning efforts last longer and the space stays tidy.
Room-by-Room vs Whole-House Cleaning
There are two common approaches to cleaning: working room by room or cleaning the entire house step by step. Neither method is wrong, but each suits different situations.
Room-by-room cleaning works well when you have limited time or want to fully finish one space before moving on. Whole-house cleaning, on the other hand, follows a single task across all rooms, such as dusting everywhere first and cleaning floors last. For full-house cleaning sessions, the whole-house approach is usually more efficient and delivers more consistent results.
Common Cleaning Order Mistakes to Avoid
One of the biggest mistakes is cleaning floors too early, which often leads to re-cleaning them later. Another common issue is starting with kitchens or bathrooms before finishing general dusting, causing dirt to spread back into clean areas.
Using the same cleaning tools in every room, especially between bathrooms and kitchens, is another frequent error. Skipping ventilation and rushing through steps also reduces cleaning effectiveness. Following a clear order helps avoid these mistakes and saves time overall.
How Often Should You Follow This Cleaning Order?
This step-by-step order works best for weekly or biweekly cleaning routines. For lighter daily cleaning, you may only need to follow parts of the process, such as surface cleaning and quick floor maintenance.
For deep cleaning sessions, the same order applies but with more detailed attention to each step. Sticking to a consistent sequence makes both regular and deep cleaning easier and more manageable over time.
Final Tips for Faster and Better Results
Gather all cleaning supplies before you start to avoid interruptions. Work with a simple checklist to stay focused and prevent skipping steps. If possible, set a timer for each stage to maintain momentum without rushing.
Opening windows while cleaning improves air quality and helps surfaces dry faster. Most importantly, use the same cleaning order every time to build a habit that makes cleaning feel automatic and less stressful.
Conclusion
Cleaning a house doesn’t have to be exhausting or repetitive. By following the correct cleaning order step by step, you reduce wasted effort, protect clean surfaces, and achieve better results in less time.
Once this process becomes a routine, cleaning feels more organized and far more effective. A clear order turns cleaning from a frustrating task into a manageable and rewarding habit.